How to Use MQTT in Node.js
This article mainly introduces how to use MQTT in the Node.js project.
Node.js is a JavaScript runtime built on Chrome's V8 JavaScript engine. Before the emergence of Node.js, JavaScript was usually used as a client-side programming language, and the programs written in JavaScript often ran on the user's browser. The appearance of node.js enables JavaScript to be used for server-side programming.
MQTT is a lightweight IoT messaging protocol based on the publish/subscribe model. It can provide real-time and reliable messaging services for networked devices with very little code and bandwidth. It is widely used in the industries such as the IoT, mobile Internet, smart hardware, Internet of Vehicles, and power energy.
This article mainly introduces how to use MQTT in the Node.js project to realize the functions of connecting, subscribing, unsubscribing, publishing, and receiving messages between the client and the MQTT broker.
MQTT Client Library
MQTT.js is a client library of the MQTT protocol, written in JavaScript and used in Node.js and browser environments. It is currently the most widely used MQTT client library in the JavaScript ecosystem.
Project Initialization
Confirm Node.js Version
This project uses Node.js v14.14.0 for development and testing. Readers can confirm the version of Node.js with the following command
node --version

v14.14.0
Use npm to Install MQTT.js Client Library
# create a new project
npm init -y

# Install dependencies
npm install mqtt --save
After the installation, we create a new index.js file in the current directory as the entry file of the project, in which we can implement the complete logic of the MQTT connection test.
Node.js MQTT Usage
Connect to MQTT Server
This article will use Free Public MQTT Server provided by EMQX, which is created based on EMQ's MQTT cloud. The server access information is as follows:
- Broker: broker.emqx.io
- TCP Port: 1883
- SSL/TLS Port: 8883
Import the MQTT.js client library
Note: In the Node.js environment, please use the commonjs specification to import dependency modules
const mqtt = require('mqtt')
Set MQTT Broker Connection Parameters
Set the MQTT Broker connection address, port, and topic. Here we use the function of generating random numbers in JavaScript to generate the client ID.
const host = 'broker.emqx.io'
const port = '1883'
const clientId = `mqtt_${Math.random().toString(16).slice(3)}`
Write MQTT Connect Function
We use the connection parameters just set to connect, and the URL for the connection is spliced through the host and port ports defined above. Then, we call the built-in connect function of the MQTT module, and it will return a Client instance after the connection is successful.
const connectUrl = `mqtt://${host}:${port}`

const client = mqtt.connect(connectUrl, {
  clientId,
  clean: true,
  connectTimeout: 4000,
  username: 'emqx',
  password: 'public',
  reconnectPeriod: 1000,
})
Subscribe to Topics
We use the function of the returned Client instance to monitor the connection status and subscribe to the topic in the callback function after the connection is successful. At this point, we call the subscribe function of the Client instance to subscribe to the topic /nodejs/mqtt after the connection is successful.
const topic = '/nodejs/mqtt'
client.on('connect', () => {
  console.log('Connected')
  client.subscribe([topic], () => {
    console.log(`Subscribe to topic '${topic}'`)
  })
})
After subscribing to the topic successfully, we then use the on function to monitor the function of receiving the message. When the message is received, we can get the topic and message in the callback function of this function.
Note: The message in the callback function is of Buffer type and needs to be converted into a string by the toString function
client.on('message', (topic, payload) => {
  console.log('Received Message:', topic, payload.toString())
})
Publish messages
After completing the above topic subscription and message monitoring, we will write a function for publishing messages.
Note: The message needs to be published after the MQTT connection is successful, so we write it in the callback function after the connection is successful
client.on('connect', () => {
  client.publish(topic, 'nodejs mqtt test', { qos: 0, retain: false }, (error) => {
    if (error) {
      console.error(error)
    }
  })
})
Complete Code
The code for server connection, topic subscription, message publishing, and receiving.
const mqtt = require('mqtt')

const host = 'broker.emqx.io'
const port = '1883'
const clientId = `mqtt_${Math.random().toString(16).slice(3)}`

const connectUrl = `mqtt://${host}:${port}`
const client = mqtt.connect(connectUrl, {
  clientId,
  clean: true,
  connectTimeout: 4000,
  username: 'emqx',
  password: 'public',
  reconnectPeriod: 1000,
})

const topic = '/nodejs/mqtt'
client.on('connect', () => {
  console.log('Connected')
  client.subscribe([topic], () => {
    console.log(`Subscribe to topic '${topic}'`)
  })
  client.publish(topic, 'nodejs mqtt test', { qos: 0, retain: false }, (error) => {
    if (error) {
      console.error(error)
    }
  })
})
client.on('message', (topic, payload) => {
  console.log('Received Message:', topic, payload.toString())
})
For the complete code of the project, please see: https://github.com/emqx/MQTT-Client-Examples/tree/master/mqtt-client-Node.js
Test
We add a line of startup script to the script field in the package.json file.
"scripts": {
  "start": "node index.js"
}
Then we can simply use npm start to run the project.
npm start
After running, we can see the output information of the console as follows:

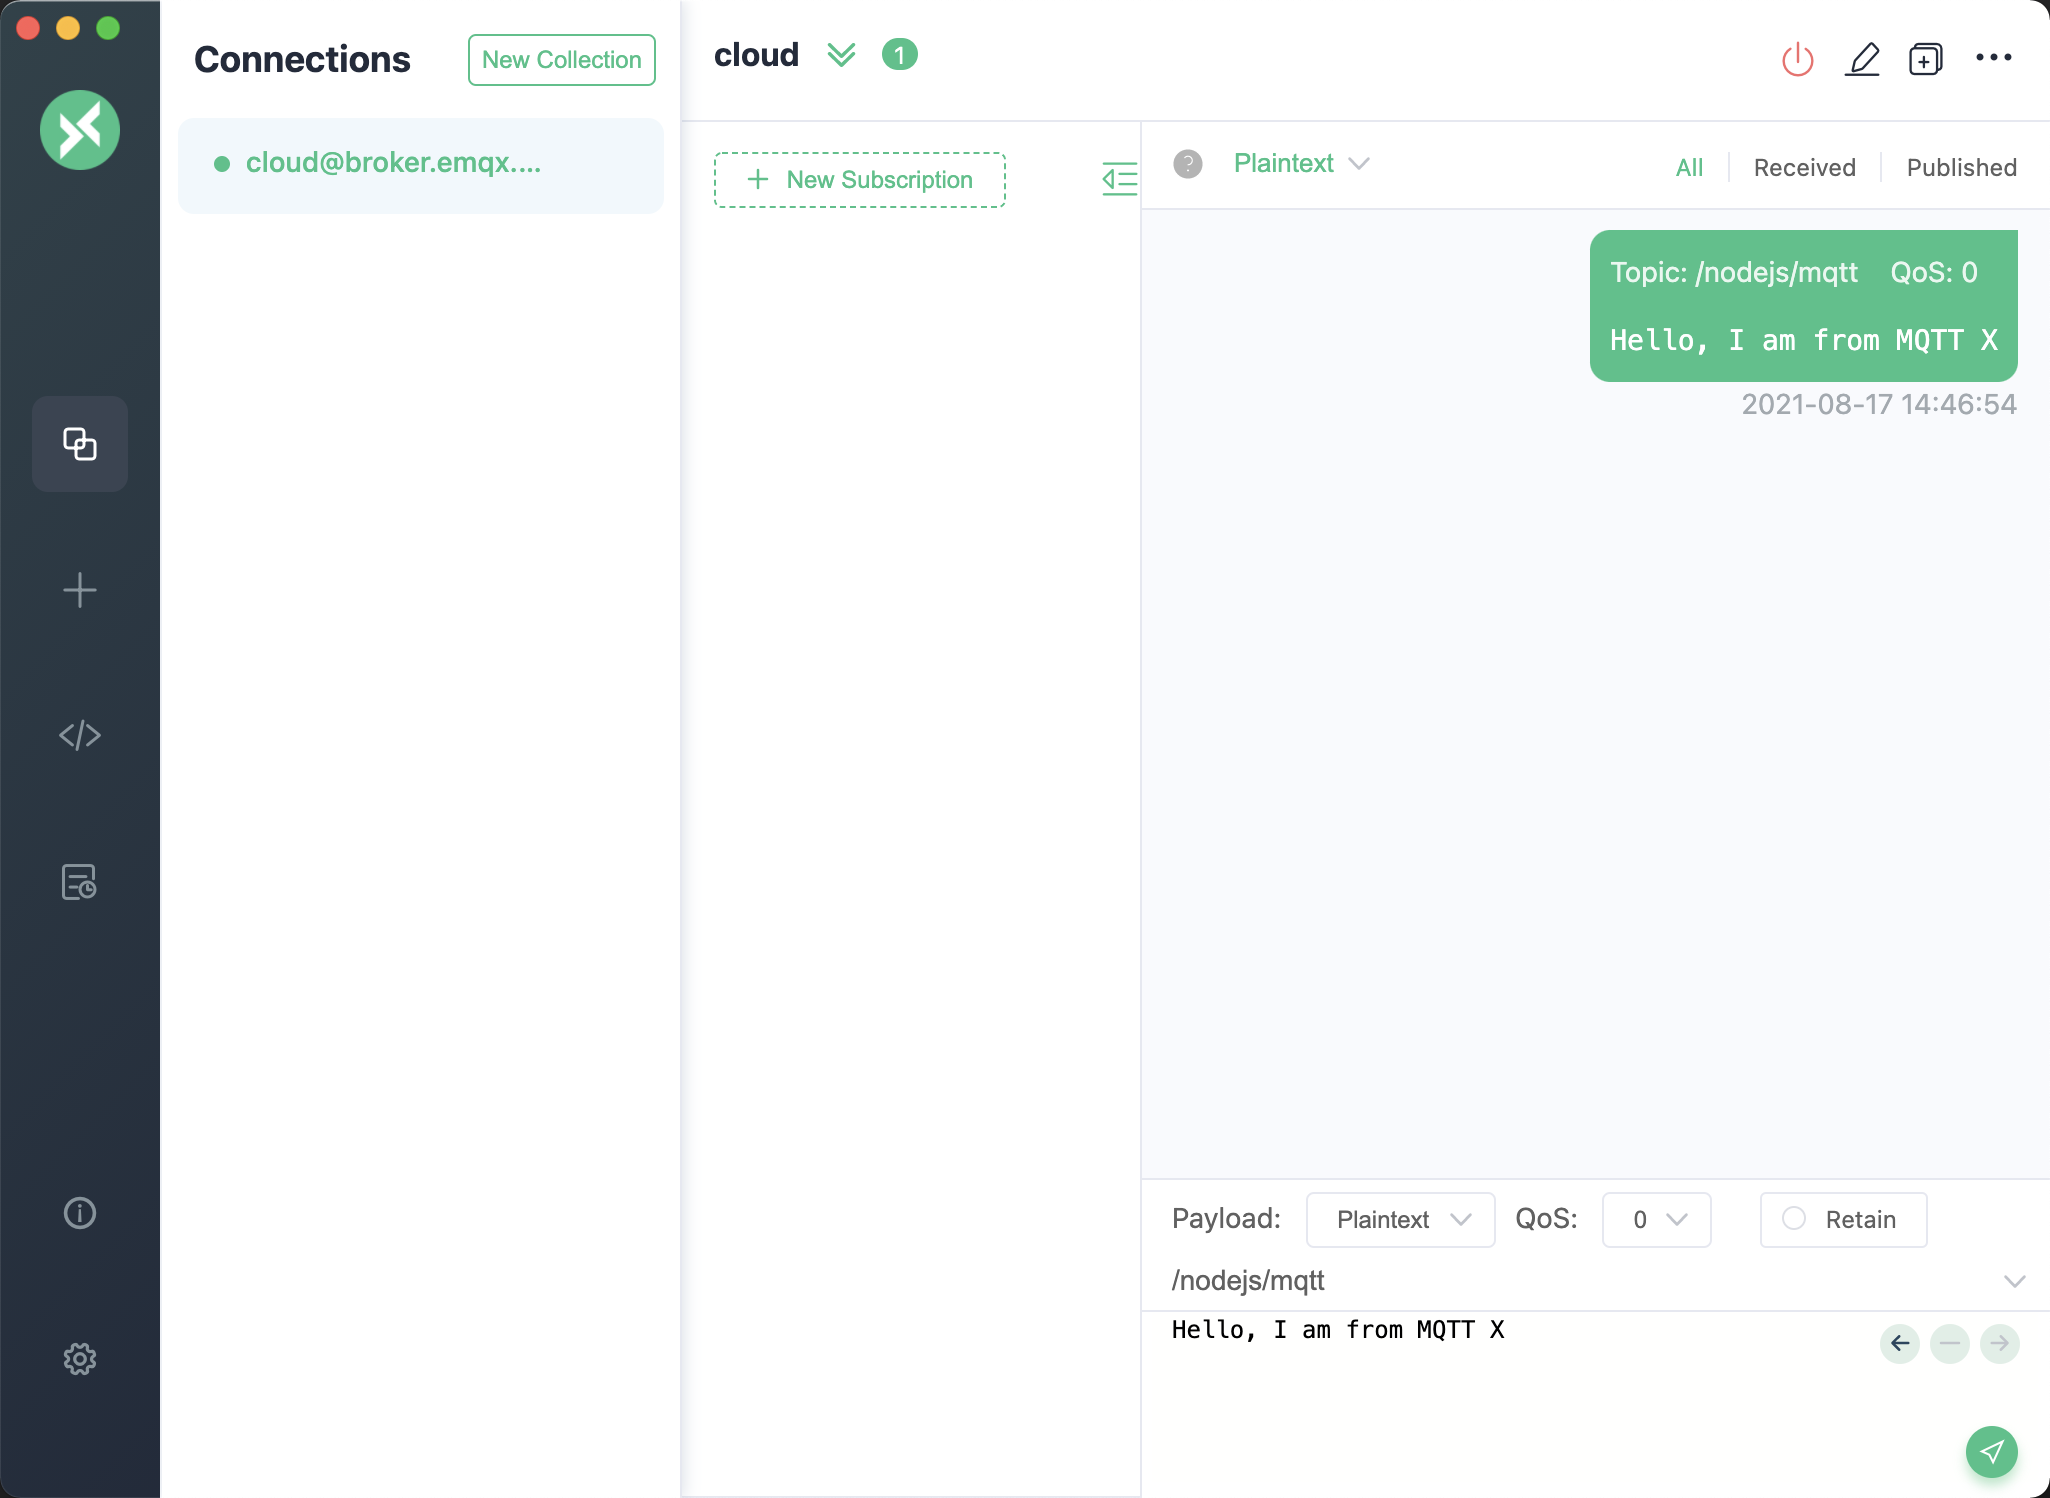
We see that the client has successfully connected to the MQTT broker and subscribed to the topic, received and published messages successfully. At this point, we will use MQTT 5.0 Client Tool - MQTT X as another client for the message publishing and receiving test.

We can see that the message sent by MQTT X is printed in the console.

So far, we have used Node.js as an MQTT client to connect to the public MQTT broker and realizes the connection, message publishing, and subscription between the test client and MQTT server.
Originally published at emqx.com.
