How to Use MQTT in the Electron Project
This article mainly introduces how to use MQTT in Electron projects.
Electron is an open-source software framework developed and maintained by GitHub. It allows for the development of desktop GUI applications using web technologies: it combines the Chromium rendering engine and the Node.js runtime. Electron is the main GUI framework behind several notable open-source projects including Atom, GitHub Desktop, Light Table, Visual Studio Code, and WordPress Desktop.^1
A basic Electron includes three files: package.json (metadata) main.js (code) and index.html (graphical user interface). The frame is provided by the Electron executable file (electron.exe on Windows, electron.app on macOS, electron on Linux). Developers are free to add flags, customize icons, rename or edit Electron executable files.
This article mainly introduces how to use MQTT in Electron projects, and complete a simple MQTT desktop client, and implement the connection, subscription, unsubscribe, messaging, and other functions between the client and MQTT broker.
Project Initialization
New Project
There are many ways to build a new project, but here is a brief list of a few:
To create manually, do the following in the self-built project directory
cd your-project

npm init

npm i -D electron@lates
Also, refer to the following documentation for the steps to build the project.
Rapid development with the official template projects
electron-qucik-start.Address: https://github.com/electron/electron-quick-start
  # Clone this repository
  git clone https://github.com/electron/electron-quick-start
  # Go into the repository
  cd electron-quick-start
  # Install dependencies
  npm install
  # Run the app
  npm start
Rapid development builds with the template project
electron-react-bolierplate, which can be developed usingReact.js.Address: github.com/electron-react-boilerplate/elect..
git clone --depth 1 --single-branch https://github.com/electron-react-boilerplate/electron-react-boilerplate.git your-project-name
cd your-project-name
yarn
The rapid development build of the project via
electron-vuewill be coupled with project initialization using thevue-clitool, which can be developed usingVue.js.Address: github.com/SimulatedGREG/electron-vue
# Install vue-cli and scaffold boilerplate
npm install -g vue-cli
vue init simulatedgreg/electron-vue my-project

# Install dependencies and run your app
cd my-project
yarn # or npm install
yarn run dev # or npm run dev
In this article, the official electron quick start project template will be used to initialize the project in order to quickly build the example project.
Installation Dependencies
Installation through the command line
npm install mqtt --save
After the dependencies are installed, if you want to open the console for debugging, you need to modify the code in main.js and uncomment win.webContents.openDevTools().
// Open the DevTools.
mainWindow.webContents.openDevTools()
In this case, the locally installed MQTT.js module cannot be loaded directly into renderer.js without using the front-end builder to package the front-end page. In addition to using the build tool method, there are two other ways to solve this:
nodeIntegrationcan be set to true inwebPreferences. When this property is present,webviewwill have Node integration in it, and node APIs likerequireandprocesscan be used to access low-level system resources. Node integration is disabled by default.const mainWindow = new BrowserWindow({ width: 800, height: 600, webPreferences: { nodeIntegration: true, preload: path.join(__dirname, 'preload.js') } })The MQTT.js module can be imported in preload.js. When there is no node integration, this script still can access all Node APIs. However, when this script execution completes, global objects injected via Node will be removed.
The Use of MQTT
Connect to the MQTT Broker
This article will use the free public MQTT broker provided by EMQX. This service was created based on the EMQX MQTT IoT cloud platform. The information about broker access is as follows:
- Broker: broker.emqx.io
- TCP Port: 1883
- Websocket Port: 8083
To illustrate more intuitive, the key connection code for the example will be written in the renderer.js file. With the consideration of security, the installed MQTT module will be loaded via the require method of the Node.js API, in the preload.js file (using method 2 above). Also, this method injecting it in the global window object so that the loaded module can be accessed directly in renderer.js.
- Import MQTT module
// preload.js
const mqtt = require('mqtt')
window.mqtt = mqtt
- Configure and test MQTT module
// renderer.js
const clientId = 'mqttjs_' + Math.random().toString(16).substr(2, 8)

const host = 'mqtt://broker.emqx.io:1883'

const options = {
  keepalive: 30,
  clientId: clientId,
  protocolId: 'MQTT',
  protocolVersion: 4,
  clean: true,
  reconnectPeriod: 1000,
  connectTimeout: 30 * 1000,
  will: {
    topic: 'WillMsg',
    payload: 'Connection Closed abnormally..!',
    qos: 0,
    retain: false
  },
  rejectUnauthorized: false
}

// Information about the mqtt module is available
console.log(mqtt)

console.log('connecting mqtt client')
const client = mqtt.connect(host, options)

client.on('error', (err) => {
  console.log('Connection error: ', err)
  client.end()
})

client.on('reconnect', () => {
  console.log('Reconnecting...')
})

client.on('connect', () => {
  console.log('Client connected:' + clientId)
  client.subscribe('testtopic/electron', {
    qos: 0
  })
  client.publish('testtopic/electron', 'Electron connection demo...!', {
    qos: 0,
    retain: false
  })
})

client.on('message', (topic, message, packet) => {
  console.log('Received Message: ' + message.toString() + '\nOn topic: ' + topic)
})
We can see the following output on the console after writing the above code and running the project:

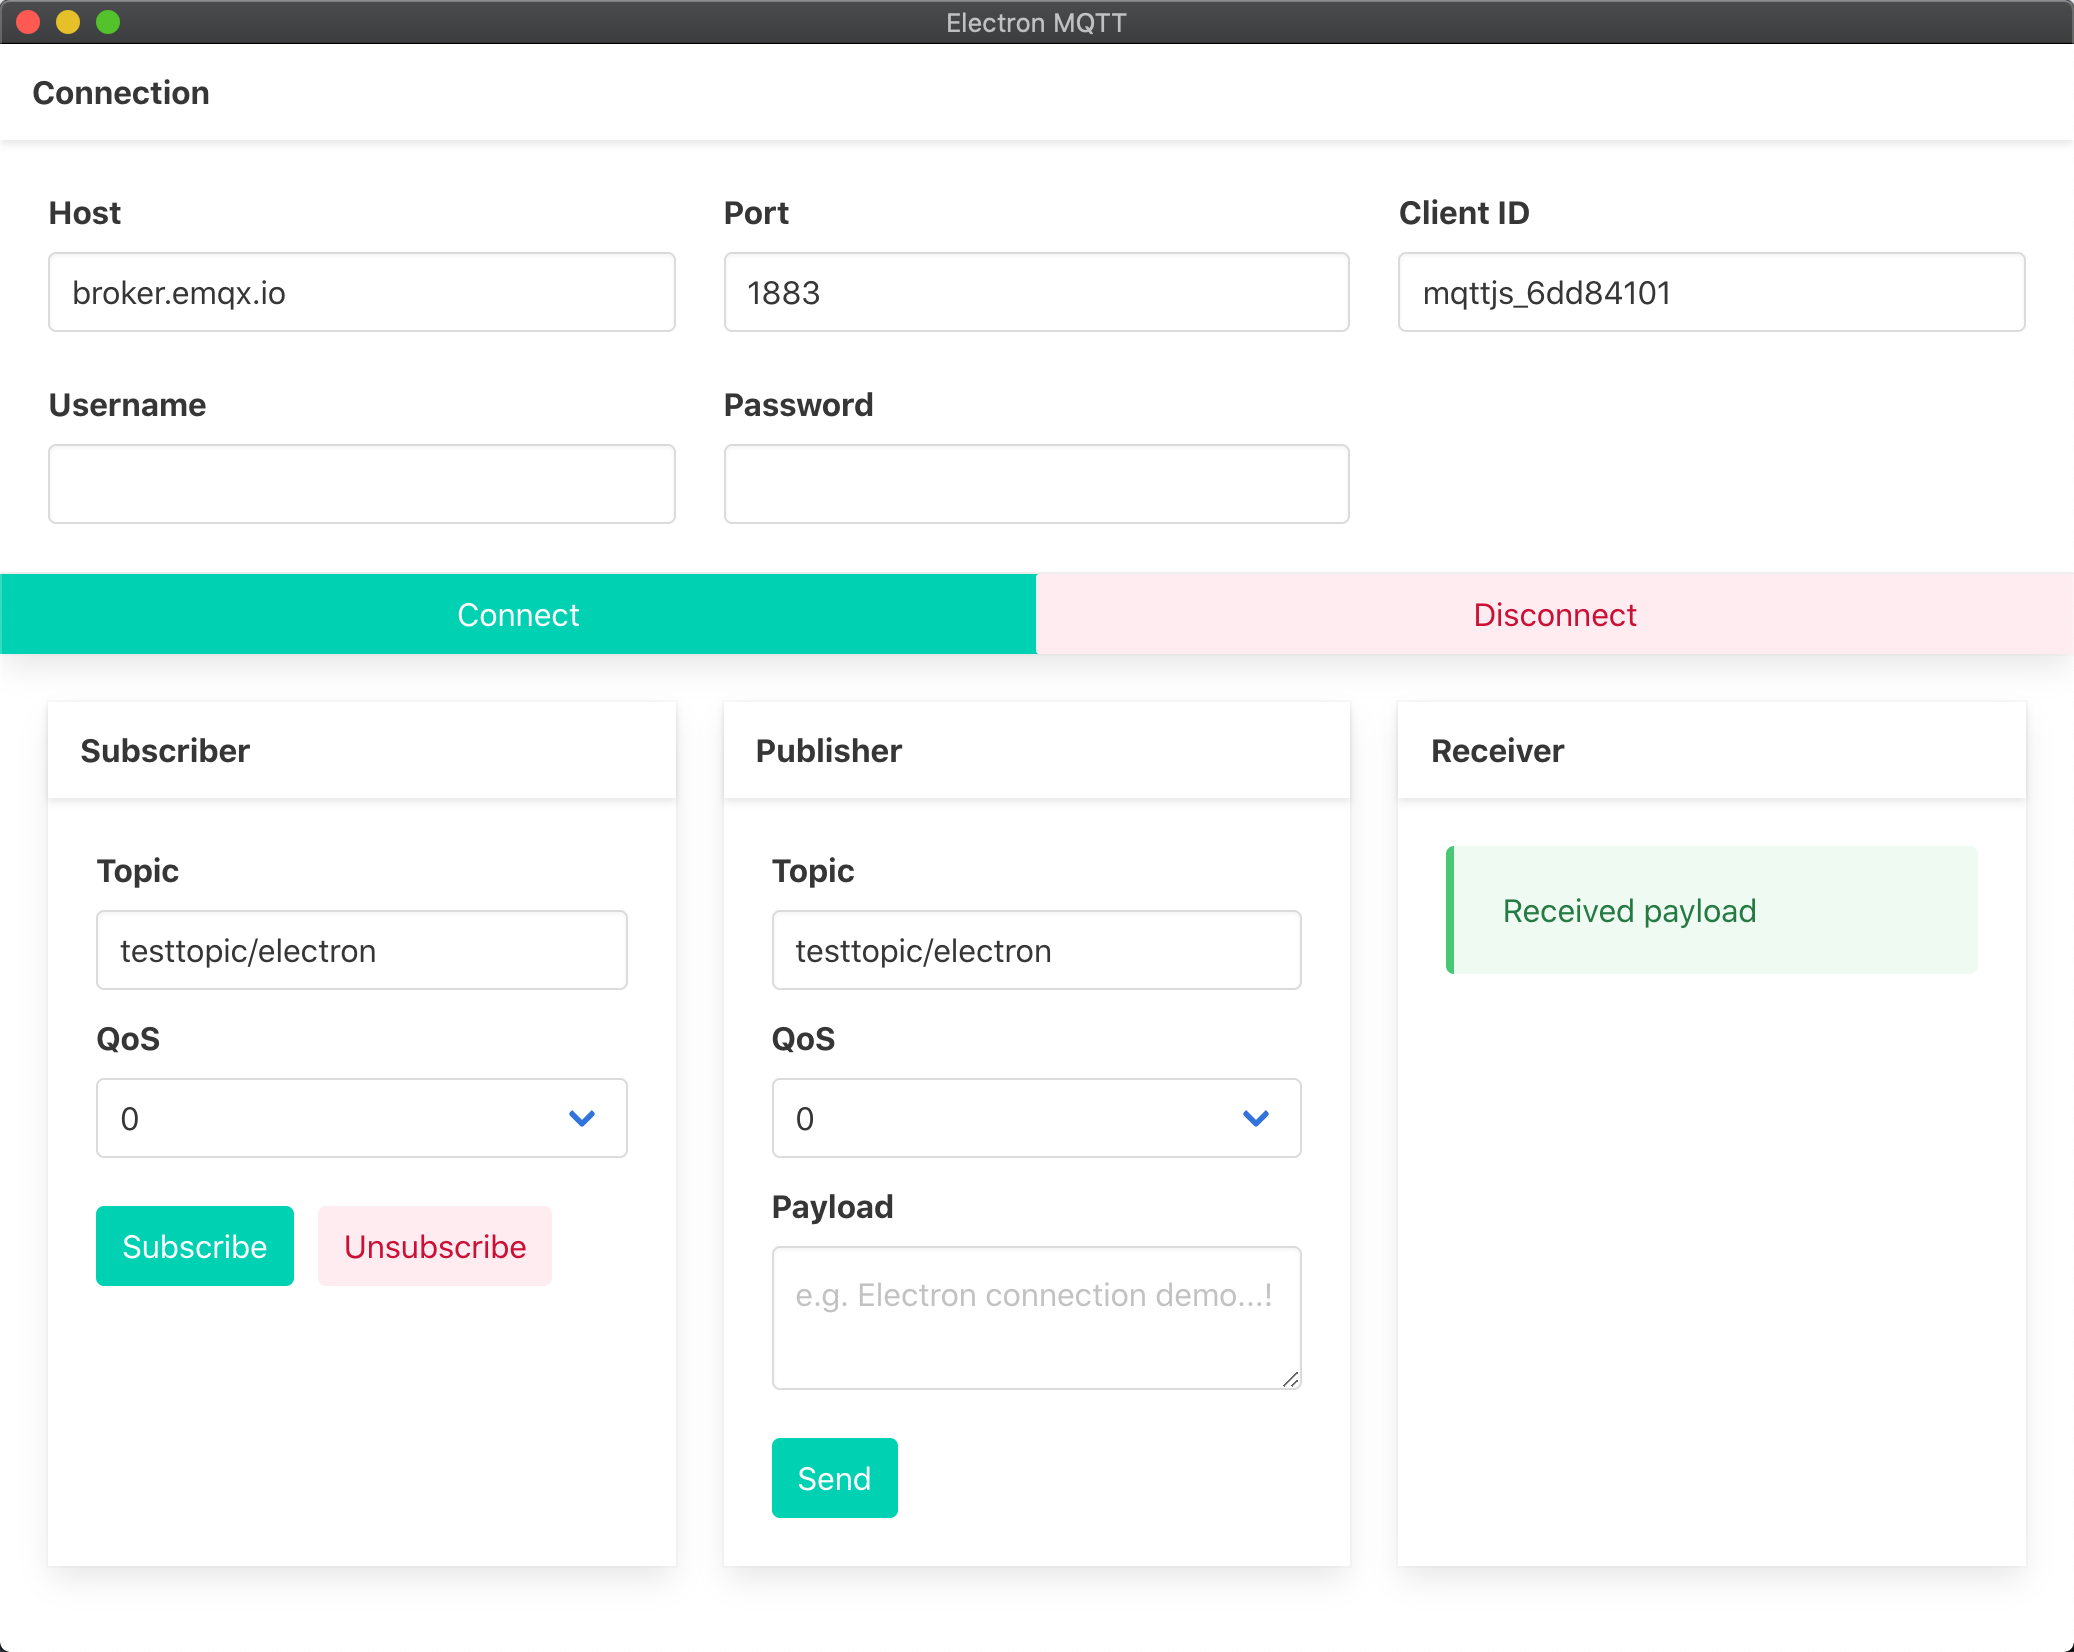
The MQTT module works fine. After setting up the module, we can write a simple UI interface to manually enter the configuration required for the MQTT connection, and click the connect button to connect to the MQTT server, as well as disconnect, subscribe to topics, send and receive messages, and so on.
Interface of Application

The complete code is available here: https://github.com/emqx/MQTT-Client-Examples/tree/master/mqtt-client-Electron.
Key Code
Connect
  let client = null

  const options = {
    keepalive: 30,
    protocolId: 'MQTT',
    protocolVersion: 4,
    clean: true,
    reconnectPeriod: 1000,
    connectTimeout: 30 * 1000,
    will: {
      topic: 'WillMsg',
      payload: 'Connection Closed abnormally..!',
      qos: 0,
      retain: false
    },
  }

  function onConnect () {
    const { host, port, clientId, username, password } = connection
    const connectUrl = `mqtt://${host.value}:${port.value}`
    options.clientId = clientId.value || `mqttjs_${Math.random().toString(16).substr(2, 8)}`
    options.username = username.value
    options.password = password.value
    console.log('connecting mqtt client')
    client = mqtt.connect(connectUrl, options)
    client.on('error', (err) => {
      console.error('Connection error: ', err)
      client.end()
    })
    client.on('reconnect', () => {
      console.log('Reconnecting...')
    })
    client.on('connect', () => {
      console.log('Client connected:' + options.clientId)
      connectBtn.innerText = 'Connected'
    })
  }
Subscribe to the Topic
  function onSub () {
    if (client.connected) {
      const { topic, qos } = subscriber
      client.subscribe(topic.value, { qos: parseInt(qos.value, 10) }, (error, res) => {
         if (error) {
           console.error('Subscribe error: ', error)
         } else {
           console.log('Subscribed: ', res)
         }
      })
    }
  }
Unsubscribe
  function onUnsub () {
    if (client.connected) {
      const { topic } = subscriber
      client.unsubscribe(topic.value, error => {
        if (error) {
          console.error('Unsubscribe error: ', error)
        } else {
          console.log('Unsubscribed: ', topic.value)
        }
      })
    }
  }
Publish Messages
  function onSend () {
    if (client.connected) {
      const { topic, qos, payload } = publisher
      client.publish(topic.value, payload.value, {
        qos: parseInt(qos.value, 10),
        retain: false
      })
    }
  }
Receive Messages
// In the onConnect function
client.on('message', (topic, message) => {
  const msg = document.createElement('div')
  msg.setAttribute('class', 'message-body')
  msg.innerText = `${message.toString()}\nOn topic: ${topic}`
  document.getElementById('article').appendChild(msg)
})
Disconnect
  function onDisconnect () {
    if (client.connected) {
      client.end()
      client.on('close', () => {
        connectBtn.innerText = 'Connect'
        console.log(options.clientId + ' disconnected')
      })
    }
  }
Client Test
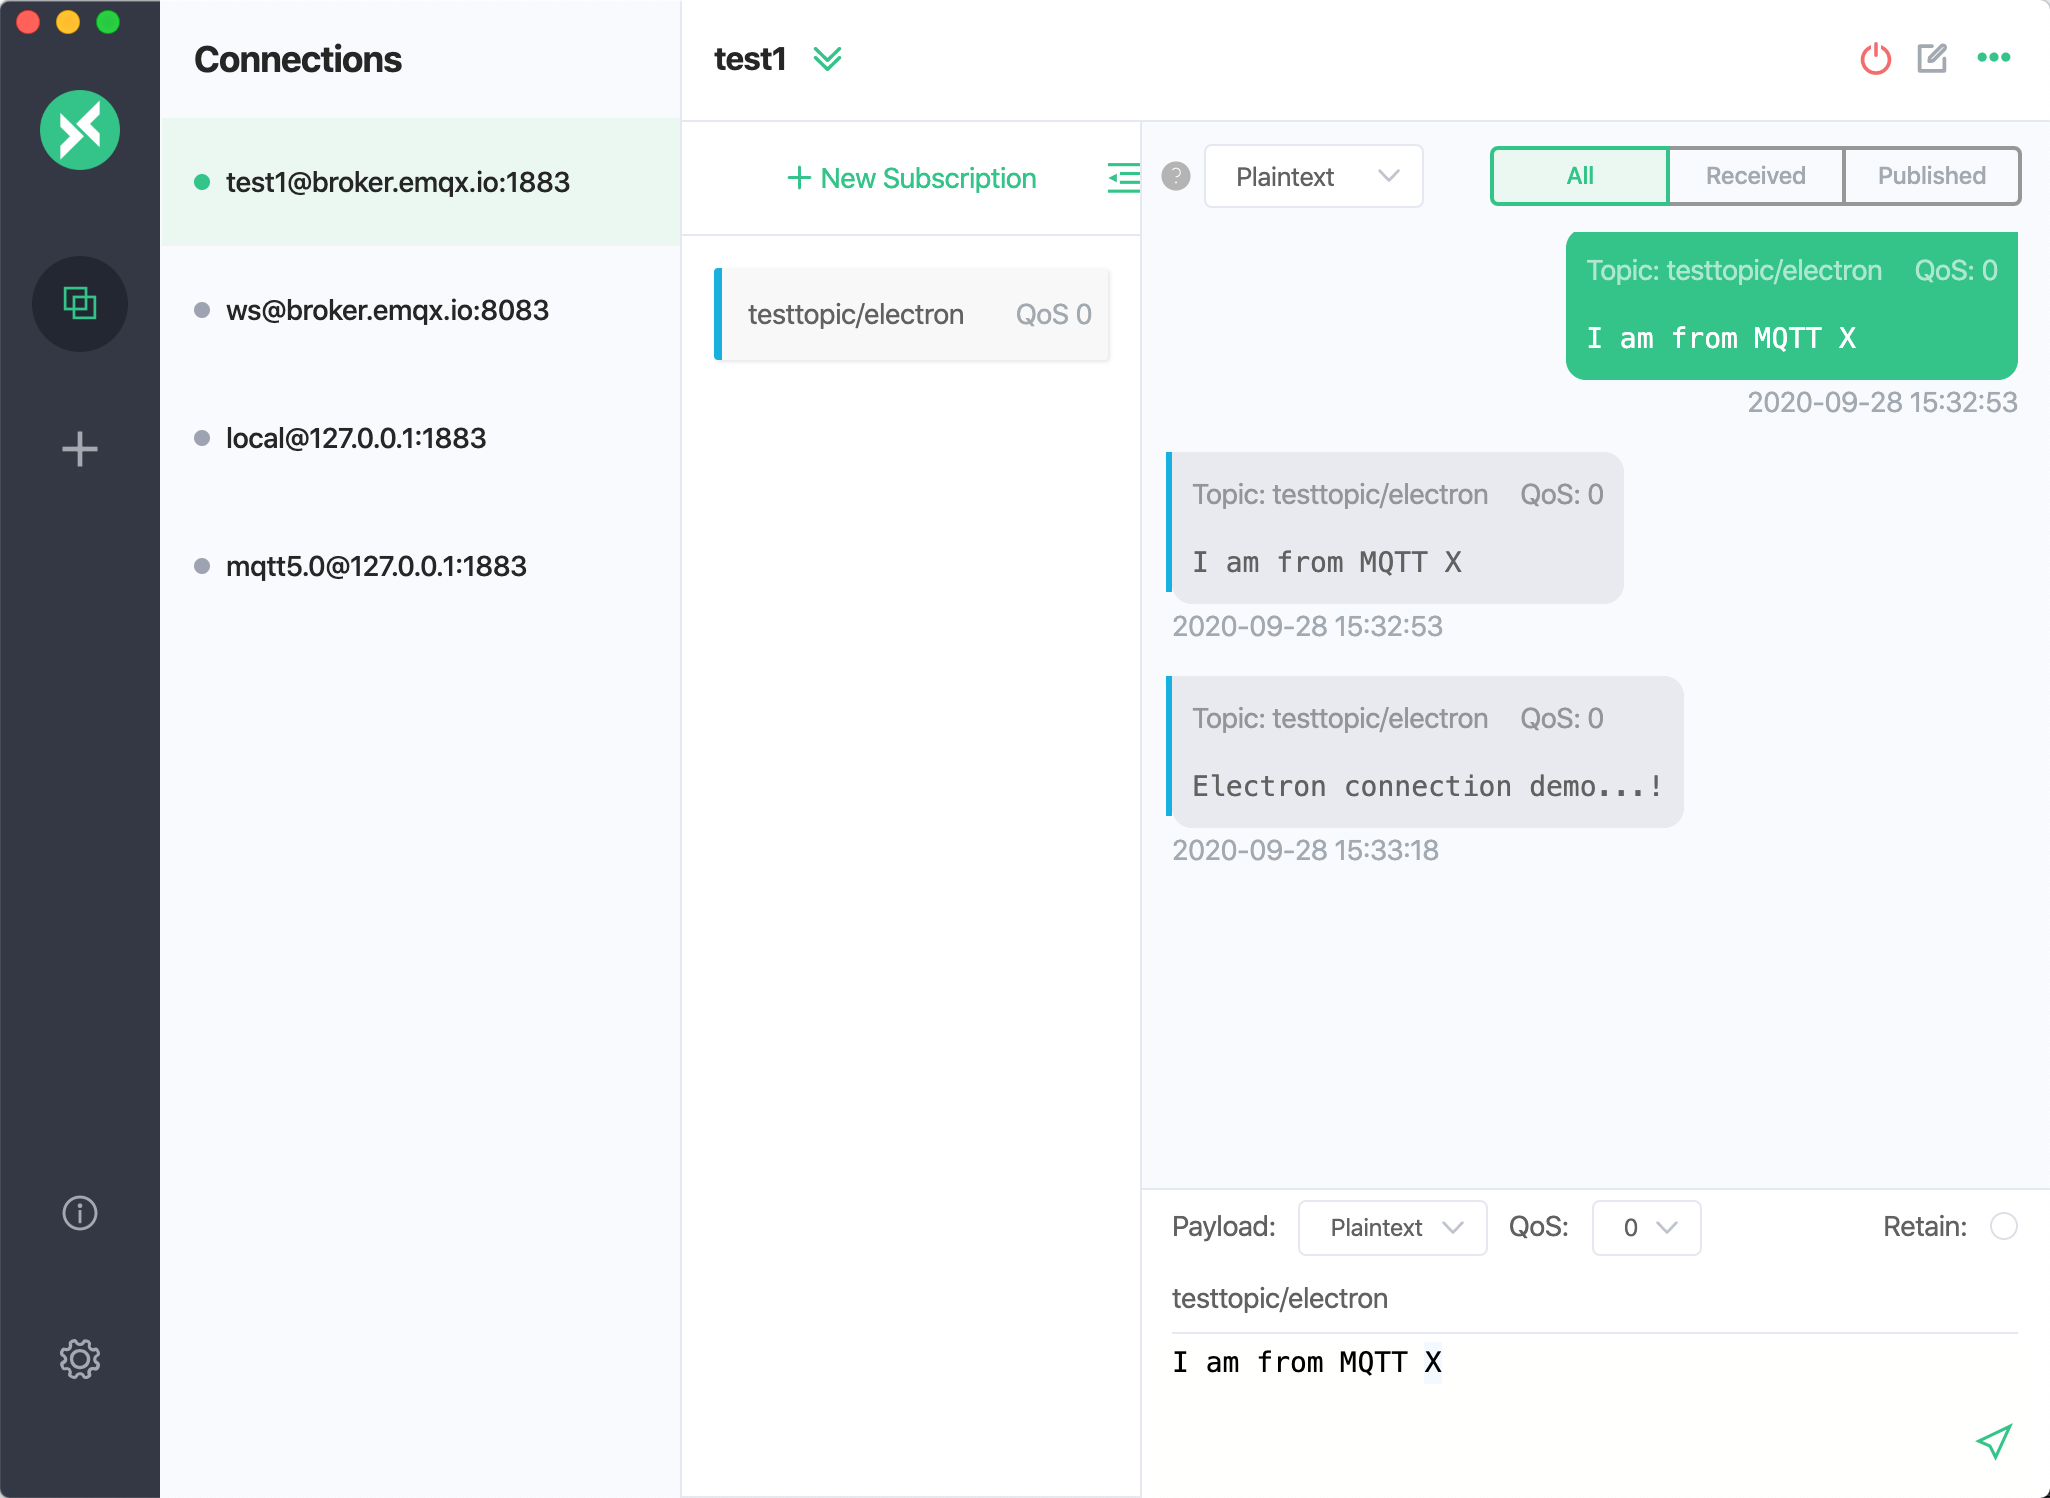
At this point, we test the sending and receiving of messages with a MQTT 5.0 client tool - MQTT X, also written in Electron.
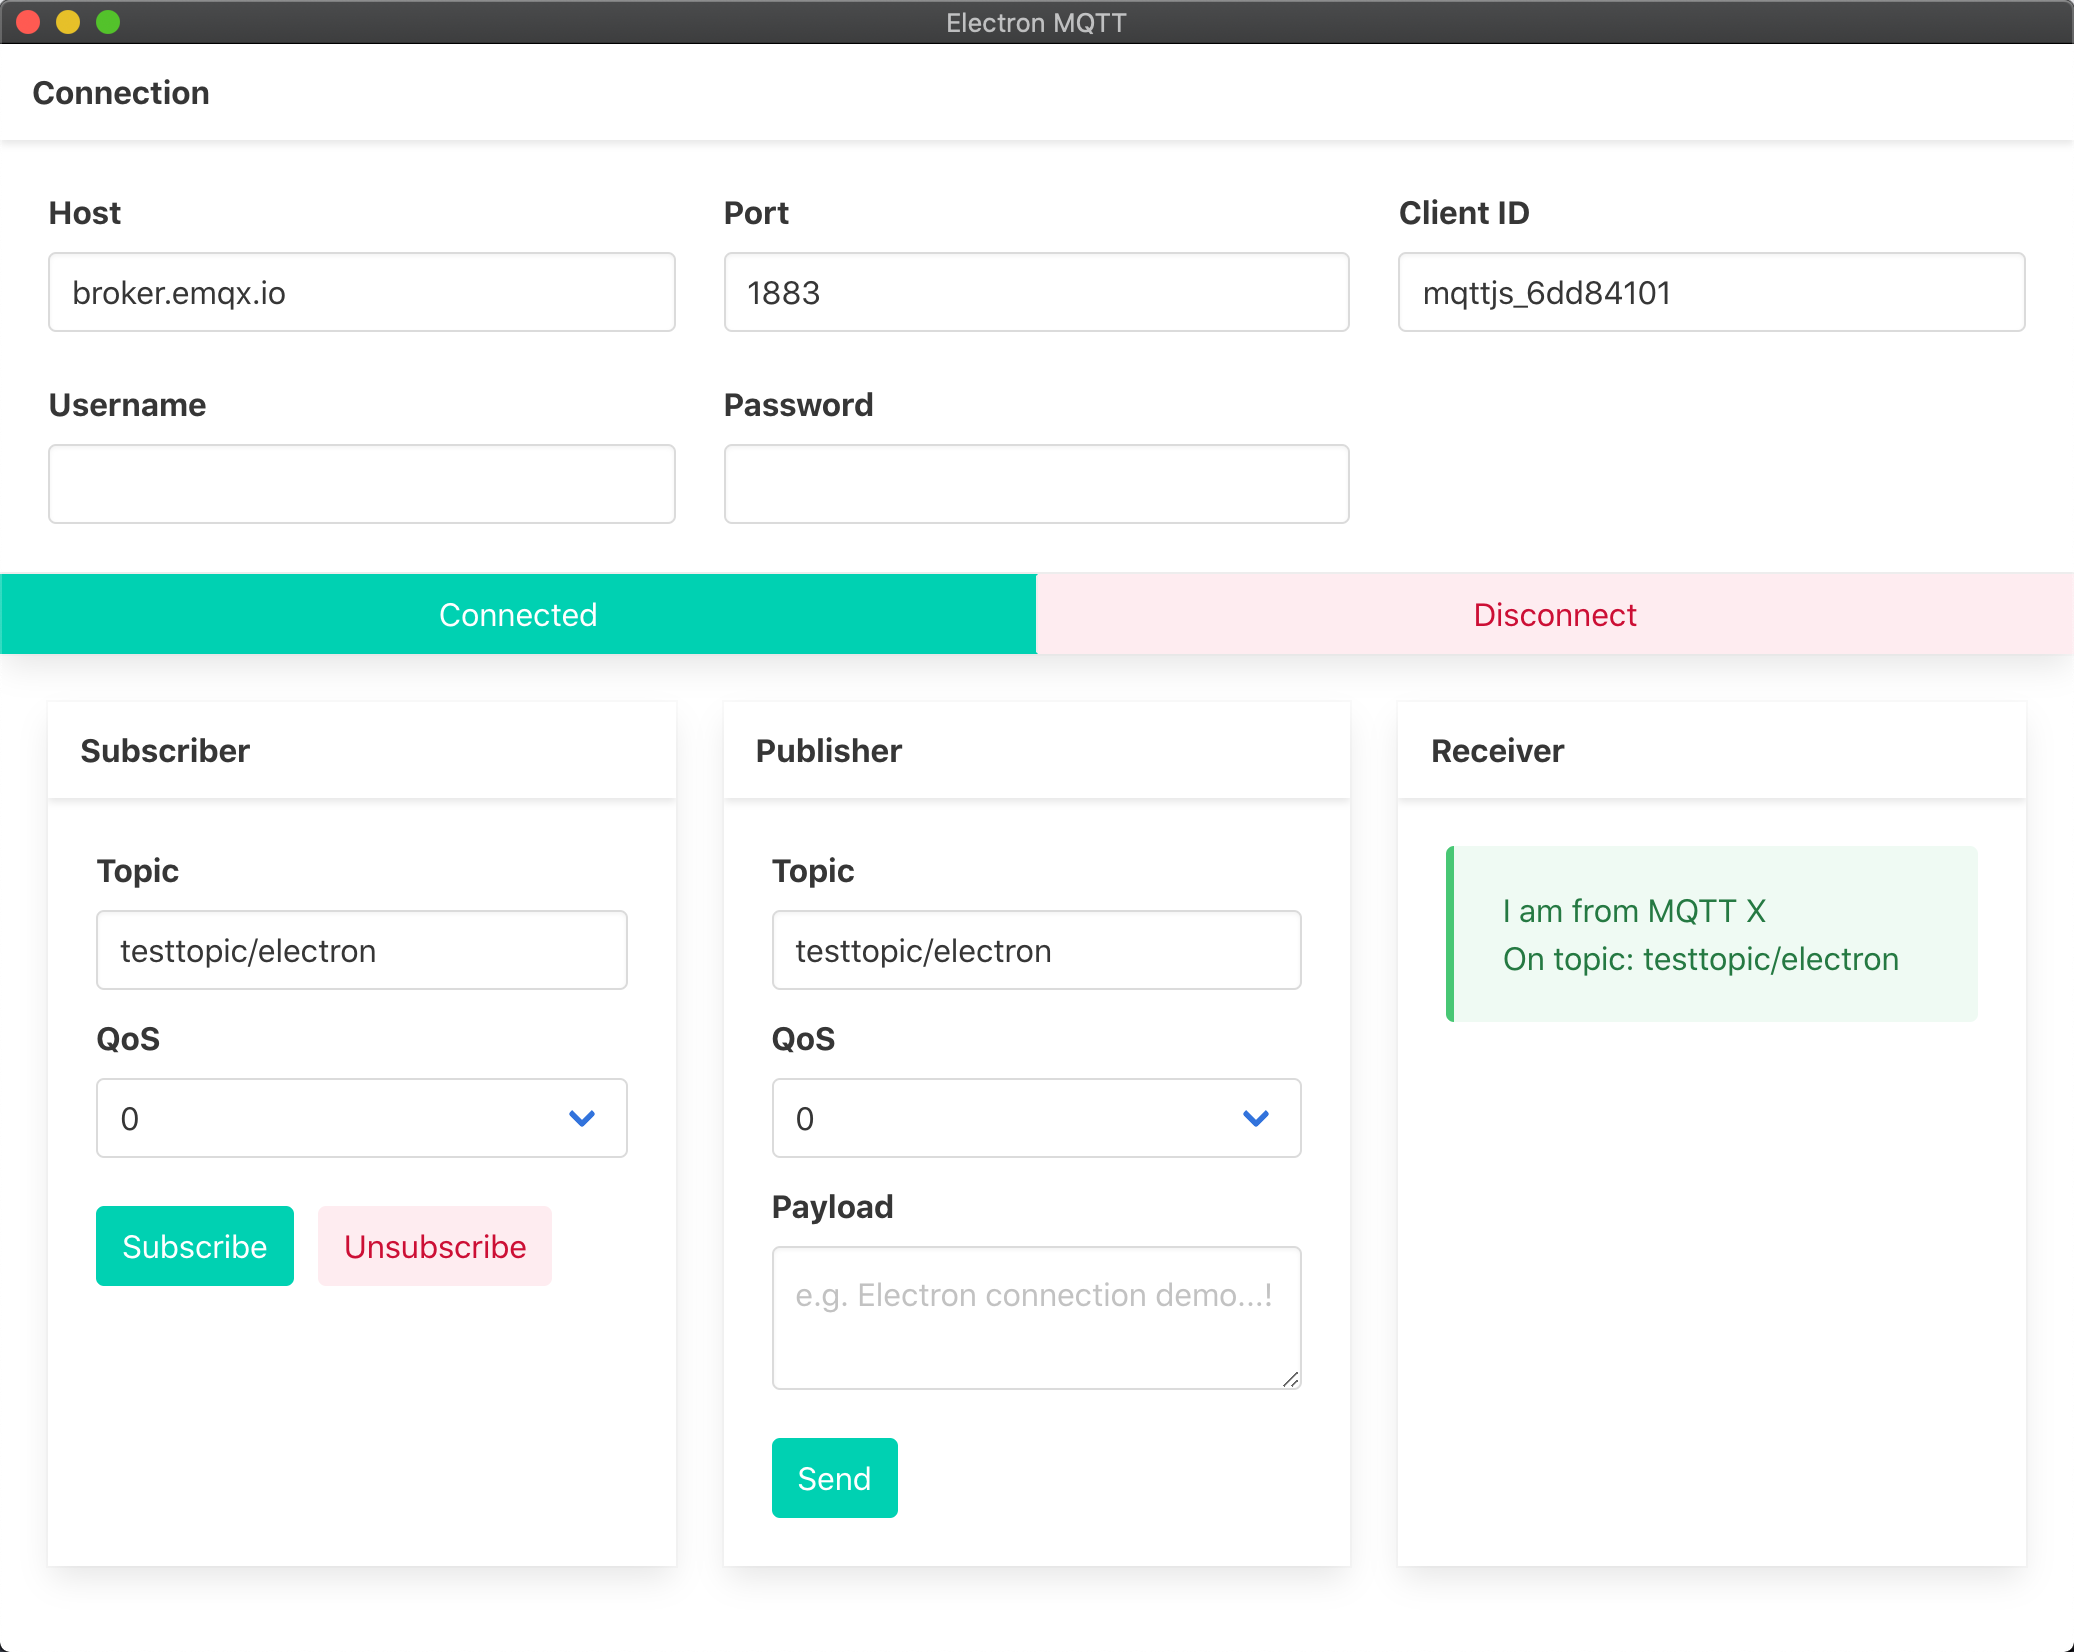
When using MQTT X to send a message to the client, you can see that the message is received properly:

Send a message to MQTT X using the client you wrote yourself, and now you can see that MQTT X is also receiving the message properly:

Summary
So far, we have completed that use Electron to create a simple MQTT desktop client, and simulate the connection, messaging, unsubscribe and disconnect scenarios between the client and MQTT broker. It is also worth noting that since the Electron project includes both a browser environment and a Node.js environment, it is possible to use the browser's WebSocket API to implement an MQTT over WebSocket connection by modifying the connection protocol and port number in the above code.
Originally published at emqx.com.
